Taro or Arbi Roots is more nutritious than the regular potato,comparative taro contains more protien and higher amounts of calcium and phosphorous in addition to goodly amounts of vitamins A,B6,C and E .It is easily digestible and so good for people with delicate digestive systems.
The leaves are cooked to make different dishes.In southern India,the leaves are weapped around a lentil filling,steamed,and seasoned to make a delicious dish called ,plaharam or patravade.People from western India make a similar dished called patra.But my momused to make delicious idli arbi leaves idli ,baji
You'll need:-
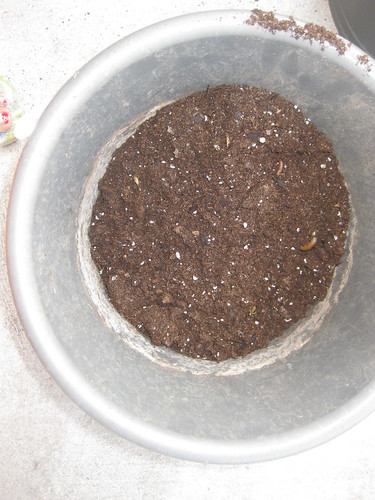
A bucket
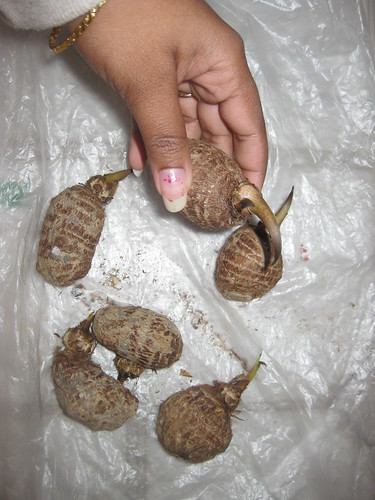
Arbi roots-4 to 5 nos
Soil
Ten days before you plant,place the arbi in a warm spot with lots of light so that their shoots start growing.
Once the arbi roots have strong,hard shoots (sprouting).Once they start growing ,plant them in the ground or in a pot.
Make a hole in the bottom of the bucket,then fill it two-thirds full with soil.
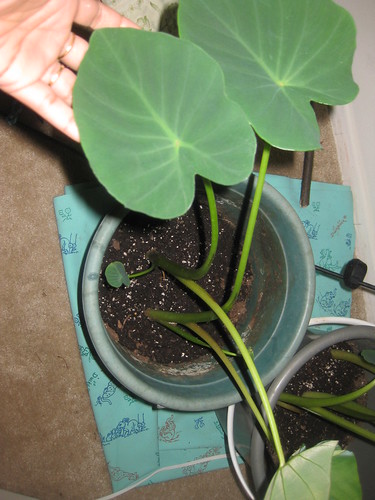
Press the arbi roots into the soil,with the shoots facing up.Then fill the bucket near to the top with soil.Add water.
Arbi roots needs lots of water.Otherwise they itch.If you are living in a colder climate dig them in winter.U can grow this outside or inside home.
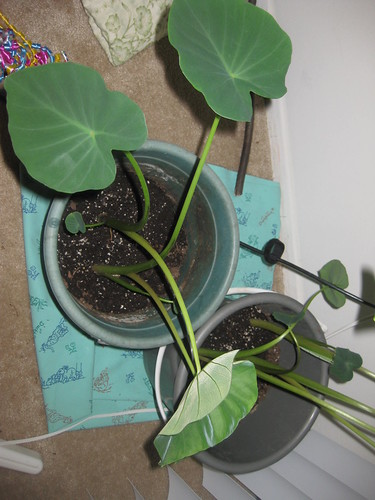
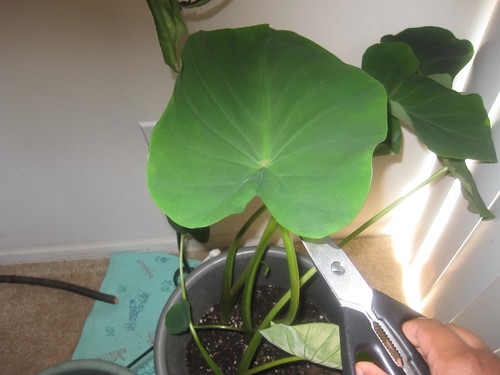
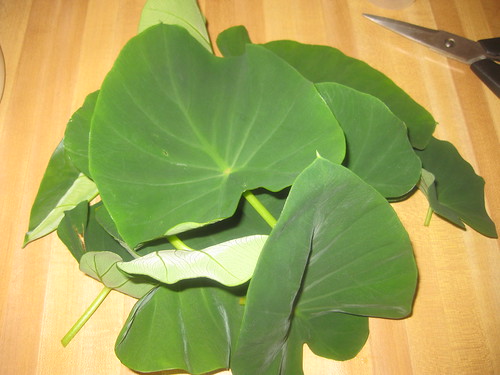
It will take 2 to 3 weeks for leaves.When the plant have a few leaves,the outer leaves can be harvested while still young and green,carefully cut the leaves.When u will cut them it will grow again.
Soon i will come with leaves recipe .....



Wow.. Wonderful job dear.. thanks for sharing !!
ReplyDeleteIndian Cuisine
Looks nice.I will try
ReplyDeleteGreat job :)..
ReplyDeletethis one's a very good read - will try it out !
ReplyDeleteGreat job done!
ReplyDeleteInteresting..looking forward to the recipes!
ReplyDeleteNice idea of potting the arvi plant..love the fresh green leaves.
ReplyDeleteInformative post.Never cooked with fresh leaves.
ReplyDeleteInformative post never cooked with fresh taro leaves.
ReplyDeletegreat job,dear..
ReplyDeletewow..that's one very useful post..thanks a lot dear...I have bookmarked it...I am sure it will be helpful someday..:)
ReplyDeleteWow ~ the plant looks so healthy - great job dear!
ReplyDeleteUS Masala
amazing pics, love how those taros have grown into plants. I am curious to see the leaves' recipe :)
ReplyDeleteGood info dear..patravade is my fav :)..will wait fr great recipes..
ReplyDeletethis is my favorite..very helpful information..thanks for sharing..
ReplyDeleteLooks awesome way of cultivating taro plant.
ReplyDeleteGreat job!
ReplyDeleteHere in Greece, we eat only the roots cooked like potatoes.
Looking forward to the recipes.
Their name is "Colocassi".
Wow nice idea dear..
ReplyDeletegr8 job dear!!!!!!!!!!
ReplyDeleteThis is awesome,will give this a try.
ReplyDeletewow...divya that's awesome....:)
ReplyDeleteGreat job dear! Can't wait for your recipe..
ReplyDeletehttp:treatntrick.blogspot.com
Wow welldone..
ReplyDeletegood job waiting for the recipe
ReplyDeleteMy granny always used to grow them and we used to do patrode:)....nice handy information!
ReplyDeletewow, you have grown taro plant at home, amazing..There are some awards waiting for you..PL. collect
ReplyDeleteWow so delicious..we too make this in same way but with besan flour.
ReplyDeletegrt job dear,idli looks soft ..
ReplyDeleteWow very nice recipe..great job it is..especially for this recipe..I am following your wonderful blog...
ReplyDeleteWhat a brilliant and wonderfully refreshing idea :) LOVE ALL YOUR PICS esp your arbi plant taking off - thanks too for showing me what arbi leaves look like - I had no idea although my children are ABSOLUTELY CRAZY about arbi roast :) TWO whopping thumbs up, Divya :)
ReplyDeletethis looks good beautifully explained
ReplyDeleteonce I bought this leaf accidentally mistaking it for another type of green and took a tiny bite and was feeling really strange
thank God nothing happened and then found out that it is toxic if it is not cooked
glad to see how it is made
thank you for sharing
Great Job Dear !
ReplyDeleter u there in facebook?
ReplyDelete